World of Rental offers extra security for your account by enabling 2-step verification process. This feature allows you to add an additional layer of protection for your account from unreliable access. In addition to your password World of Rental will require a six-digit security code as enable the two-step verification.
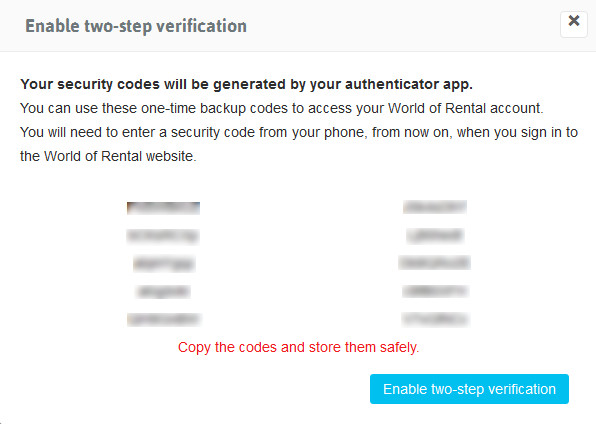
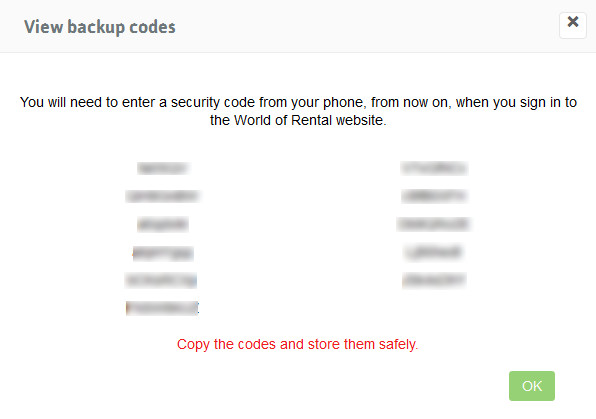
For emergency access to your World of Rental account we also provide you 10 backup codes, in case you’ve lost your phone or if you’re unable to generate security codes. You can store them or print it.
Learn how to use 2-step verification step by step:
1. Sign in to your World of Rental account.
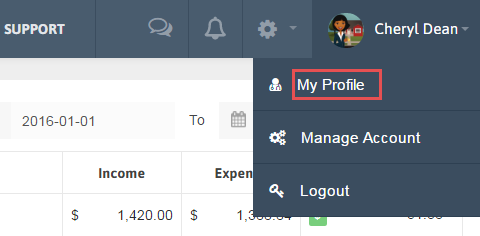
2. Click your name on the upper-right corner and then click My Profile.
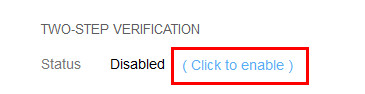
3. Click Enable under Two-step Verification option from Security Tab on left sidebar.
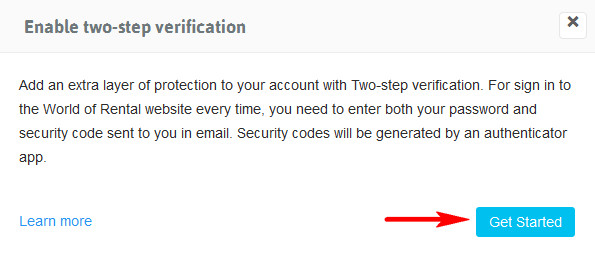
4. Click Get Started.
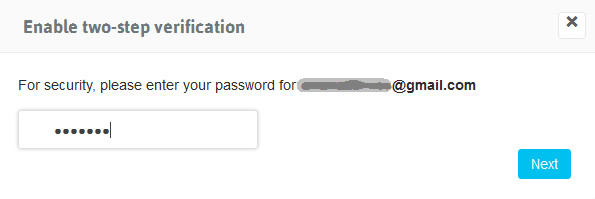
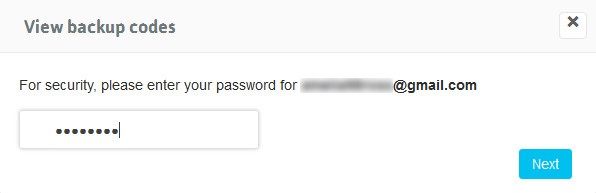
5. For further confirmation, we ask you to re-enter your password to enable 2-Step Verification. Click Next.
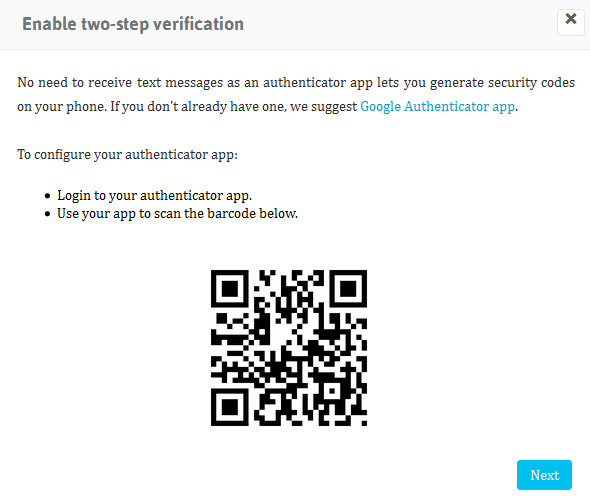
6. The security code generated from the Authenticator app will be used to sign in to your World of Rental account as an extra layer of safety after entering your password. (Note: To scan the Barcode, Go to Google Authenticator App Set up an account Scan a Barcode.) Click Next as you scan the barcode.
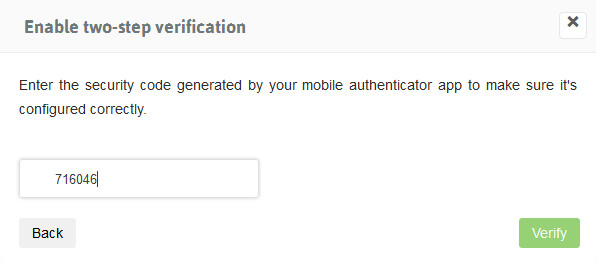
7. Add the 6 digit unique code generated from your authenticator app manually. Click Verify.
8. Once your app is configured, click Enable Two-Step Verification.
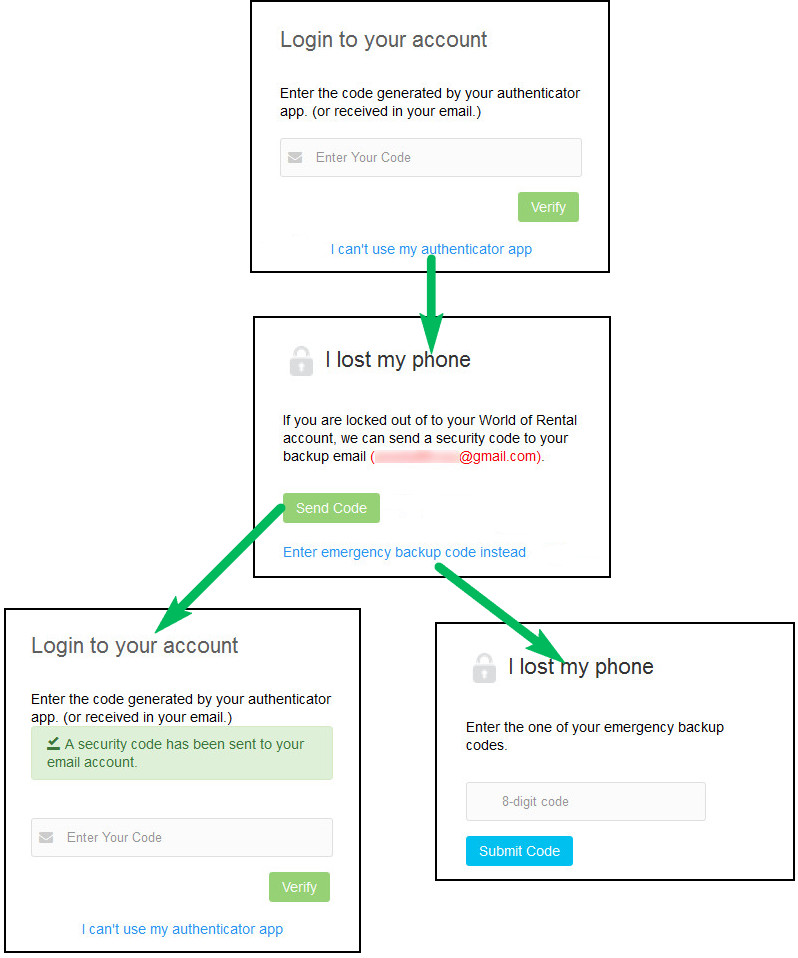
Note: If you can’t use your Authenticator app, You can either add the Backup codes provided to you during the setup or You can receive the code to your Backup Email address.
Forgot your Backup code?
Have you forgotten your backup codes?
Don’t worry at all we have remembered it all for you.
1. Click your name on the upper-right corner and then click My Profile.

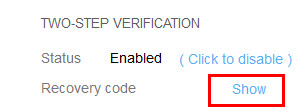
2. Click Show under Two-step Verification option from Security Tab on left sidebar.
3. Enter the password.
3. View your backup codes here again.
Update your Profile
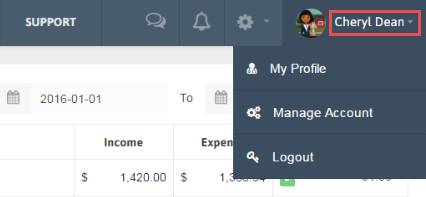
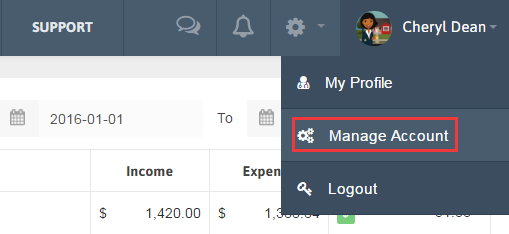
1. Click the arrow beside your Name in the Menu.

2. Click My Profile.

3. Your Profile will be opened along with its details.
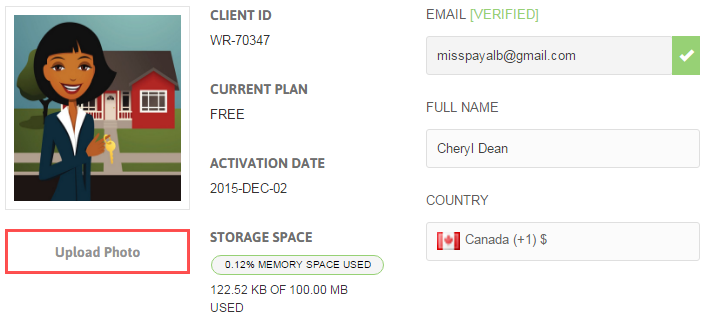
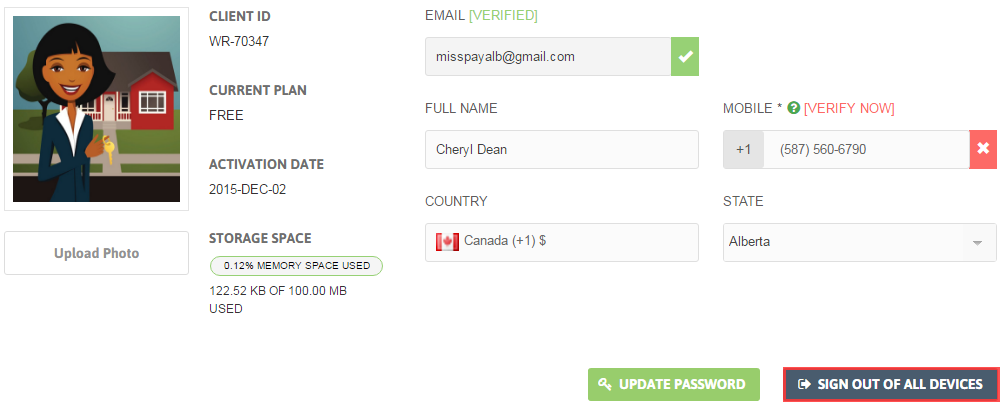
4. You can personalise your profile by uploading profile picture. Set your Country, State, verify mobile number and email address. Also, You can see the status of Storage Space used by you according to your plan.
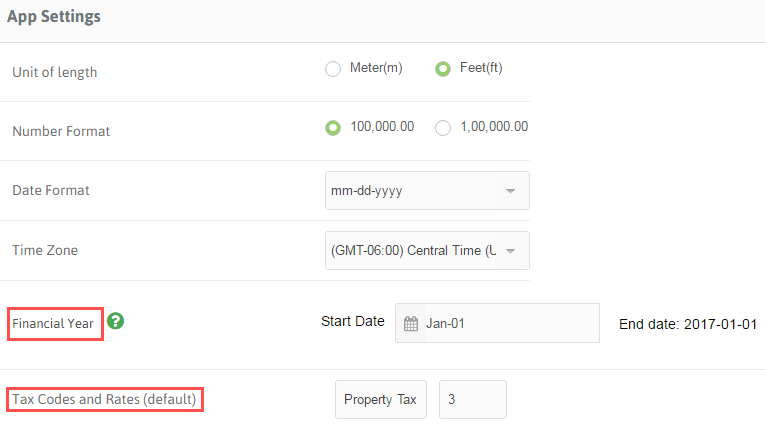
5. Go to App Settings(Left sidebar) to change the Unit of Length, Number format, Date format, Time Zone.
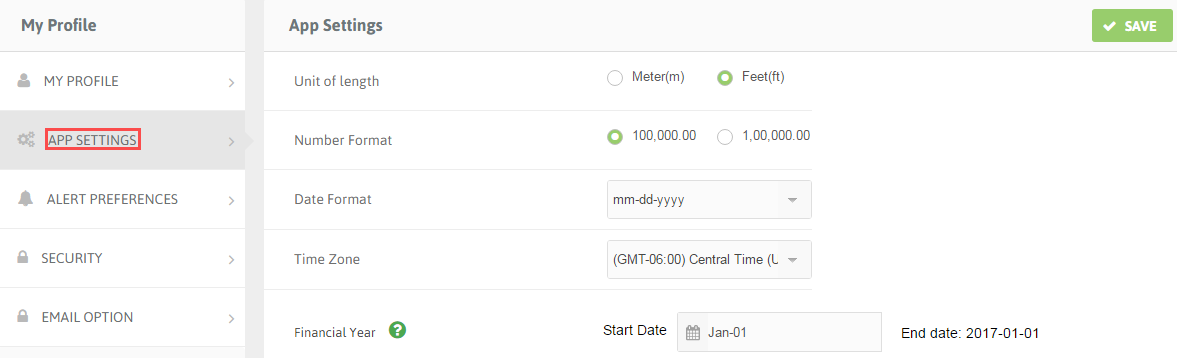
6. From App Settings, you can also set Financial year start date, Tax types and its name which will be displayed when adding Transactions and on clicking the ‘Save’ button the changes will be reflected in your account.
Update Password
1. Click the arrow beside your Name in the Menu.
2. Click My Profile.

3. Click ‘Update Password’ button.
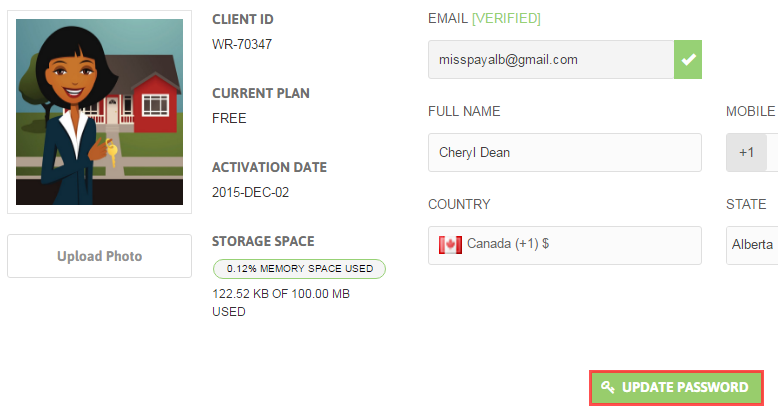
4. A popup will be opened; enter your Old password along with the New Password and Confirm Password. By clicking on Show you can view your password before updating it.

5. Click ‘Update’ button.
Sign out of all devices
World of Rental is cloud synced across all your devices be it your computer, tablet or smart phone. There’s a chance you may be using World of Rental on different devices simultaneously. To sign out of all these devices:
1. Click the arrow beside your Name in the Menu.

2. Click My Profile.

3. Click ‘Sign out of all devices’.
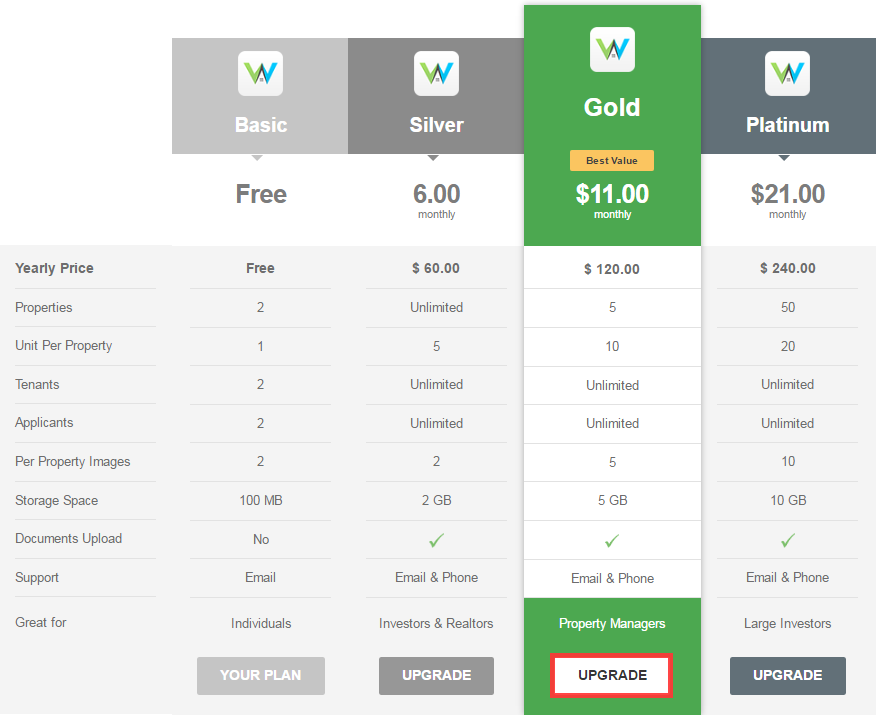
Upgrade/downgrade your account
If you upgrade in the middle of your subscription period for your current paid plan, then you will be charged for the price difference between the current plan and new plan. On the next recurring you will be charged as per your new plan.
1. To Upgrade, Click the arrow beside your Name in the Menu. Then click Manage Accounts.

2. Compare all the plans and click on ‘Upgrade’. After that, Add Payment Info to start using the upgraded plan.
While in case if you downgrade in the middle of your subscription period for your current paid plan, then amount will not be credited at a time. But the next recurring will be according to your new plan.
Payment Details
1. Click the arrow beside your Name in the Menu and click Manage Account.

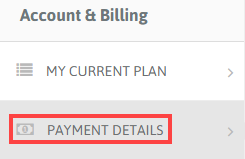
2. Click the Payment Details tab under Account & Billing from Left sidebar.
3. Add Credit card details and click ‘Save’ button.
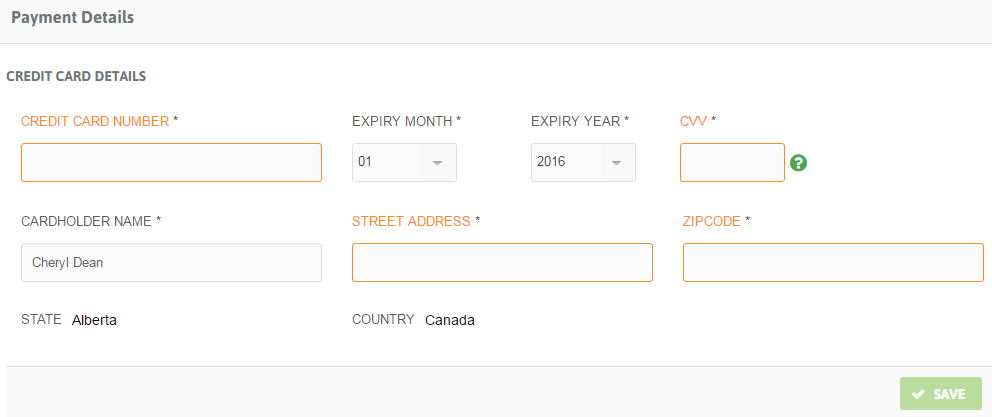
4. Also you can see your payment history below.
Cancel the Account
For Free Account:
1. Click the arrow beside your Name in the Menu and click Manage Account.
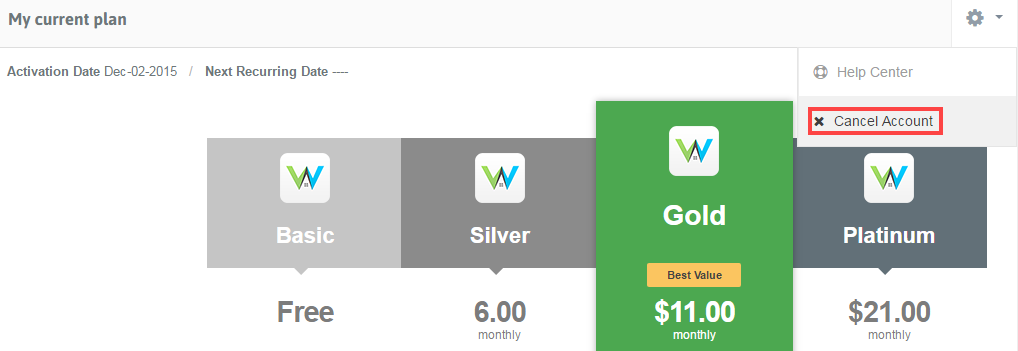
2. Now hover over the Settings(gear shaped icon) and click ‘Cancel Account’.
3. You have two options:
-Cancel Service: You’ll still be able to login to your account for the next 365 days after your cancellation date. But you won’t be able to modify the records.
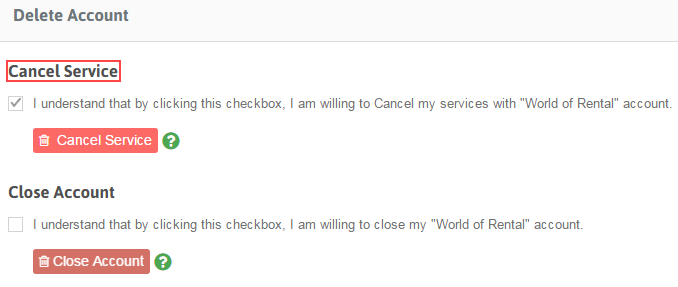
-Close Account: Once you’ve closed your account you will be able to login for next 30 days of the closing date. You won’t be able to modify any data. After 30 days of the closing date, your data will be removed from our server.
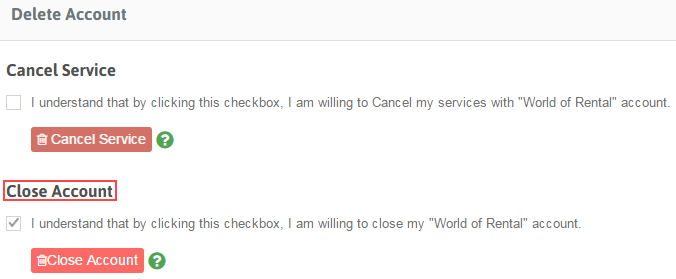
4. After carefully revising both the options, agree to the Terms by clicking the checkbox.
For Paid Account:
1. Click the arrow beside your Name in the Menu and click Manage Account.
2. Now hover over the Settings(gear shaped icon) and click ‘Cancel Account’.
3. You have to Cancel Recurring payment to close the account with a paid plan. In order to cancel recurring payment, agree to the Terms by clicking the checkbox and click on the Cancel Recurring Payment button.
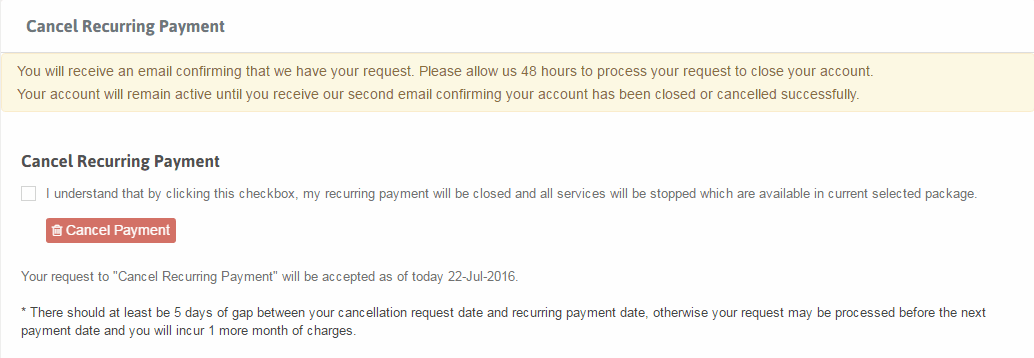
4. You can continue using World of Rental services till next recurring date. After that date your services will be cancelled.
5. You will still be able to login to your account for 365 days from the cancellation date. You will not be able to modify any details; you will only be able to view details.
6. If you restart your recurring payment before cancellation date, then your recurring payment will restart again. But if you re-start it after that date, then you will be charged as per your last plan.
Re-activate Account/Service
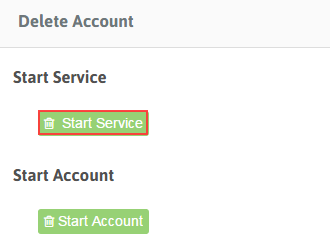
-Start Service:
1. Click the arrow beside your Name in the Menu and Click Manage Account.

2. Now hover over the Settings(gear shaped icon) and click ‘Cancel Account’.

3. Click ‘Start Service’ to reactivate your service.
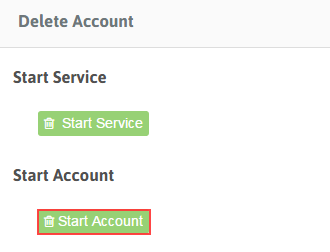
-Start Account:
1. Click the arrow beside your Name in the Menu and click Manage Account.
2. Now hover over the Settings(gear shaped icon) and click ‘Cancel Account’.
4. Click ‘Start Account’ to reactivate your account.
*Your reactive service request will be sent to our custom department and your service will be started within 3-4 business hours.
View Alerts
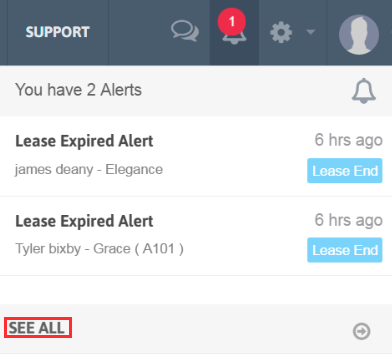
1. Hover on the Alerts(Bell shaped) icon in the right hand side corner.
2. The recent Alerts will be shown when you hover on the Alerts icon.
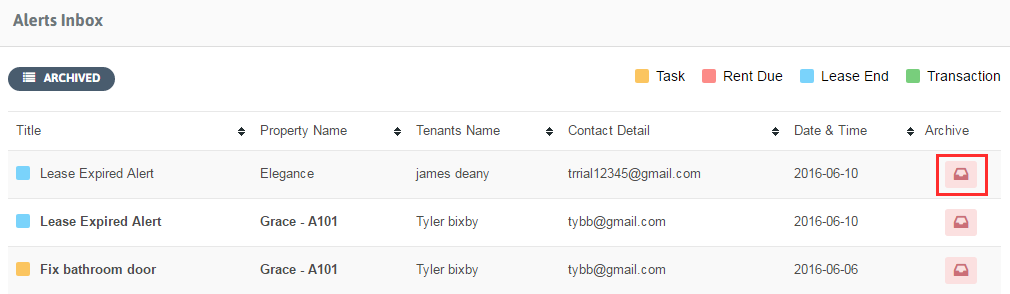
3. To view all the alerts including past ones, click on ‘See All’. A list of the Alerts with details like which type of Alert it is (color coded), Property and Tenants name, their contact info and alert date is displayed here.
4. To Delete the Alert click on the icon below ‘Archive’ column.
- 1
- 2
- 3
- …
- 10
- Next Page »